.jpeg) (Image via
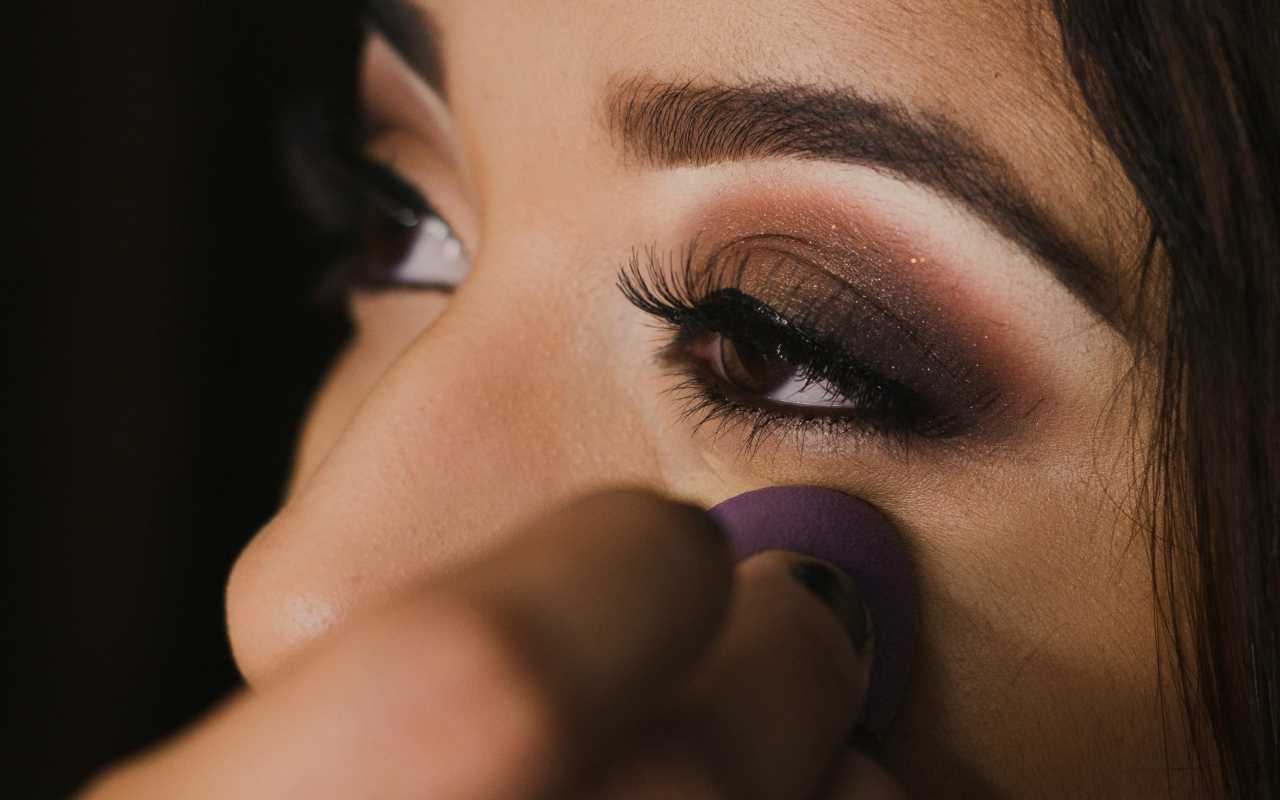
(Image viaWhen it comes to makeup, the tools you use can make all the difference. Even the best foundations, eyeshadows, and blushes can fall flat if you don’t have the right brushes to apply them. Professional makeup brushes are the secret weapon to achieving a flawless finish, whether you’re a beginner or a beauty enthusiast. They help you blend, buff, and create looks that feel seamless and polished.
But with so many brushes out there, it’s easy to feel overwhelmed. What’s the difference between a foundation brush and a stippling brush? Do you really need multiple eyeshadow brushes? The good news is, you don’t need hundreds of tools to achieve a professional result. With the right brushes and some easy-to-follow tips, your makeup routine can go to the next level in no time.
Here’s everything you need to know about professional makeup brushes, how they’re used, and how to make the most of them to create stunning, flawless looks.
Why Professional Brushes Matter
Sure, you can use sponge applicators or your fingers to apply makeup, but brushes are a game-changer. High-quality makeup brushes are designed to give you better precision and control, helping you apply pigments with even coverage. They’re also softer on your skin and more durable than cheaper alternatives, ensuring a luxurious feel while standing the test of time.
Professional brushes are crafted with natural or synthetic bristles, each tailored for specific uses. While natural brushes are great for powders, synthetic ones work well with liquid and cream products. The best part? A quality brush makes blending effortless, so you avoid cakey finishes or streaks.
Investing in proper brushes isn’t just about creating a flawless face; they save time and product, too. High-end tools pick up just the right amount of makeup, meaning less waste and smoother application.
Essential Makeup Brushes and Their Uses
Each brush in your collection has a purpose, and understanding what they do will help you achieve that perfectly blended finish. Here’s a breakdown of must-have brushes and how to use them.
1. Foundation Brush
Your foundation sets the tone for the rest of your makeup, so applying it evenly is key. A foundation brush is designed to give you a smooth, streak-free base.
- Flat Foundation Brush: These have firm bristles that help you paint liquid or cream foundation onto your skin. Work in thin layers, building up for fuller coverage.
- Buffing Brush: Rounder and denser, buffing brushes are perfect for blending foundation into the skin for a flawless, airbrushed look. Use circular motions to avoid harsh lines.
If liquid foundation isn’t your thing, don’t worry. Powder foundations work brilliantly with kabuki brushes, which provide even coverage without making your skin look powdery.
2. Concealer Brush
To cover up blemishes, dark circles, or redness, a good concealer brush is your best friend. Unlike sponges, which can absorb a lot of product, brushes give you precision and control.
Choose a small, flat brush with firm bristles to pat concealer directly onto trouble spots without streaking. For under-eye areas, look for a slightly fluffy brush to blend the formula seamlessly. Bonus tip? Use your concealer brush to clean up your eyeliner or sharpen lipstick edges for a polished finish.
3. Powder Brush
Powder brushes are large, fluffy, and perfect for setting your foundation with loose or pressed powder. This type of brush helps evenly distribute product, preventing your makeup from looking heavy or cakey.
To get the most out of your powder brush, gently dab it into the powder, tap off any excess, and sweep it across your face. Focus on your T-zone (forehead, nose, and chin) to combat shine while keeping the rest of your makeup looking natural.
4. Blush and Contour Brushes
Blush and contour brushes may look similar, but each is designed for a specific purpose.
- Blush Brush: Typically medium-sized with slightly rounded edges, blush brushes pick up just enough pigment to give your cheeks a flush of color. Sweep it across the apples of your cheeks and gently blend outwards for a natural look.
- Contour Brush: These are angled or tapered to sculpt and define your face with bronzer or contour powder. Use the angled edge to apply product under your cheekbones, along your jawline, or on the sides of your nose.
The secret to using these brushes correctly is blending. Always start with a light hand and build up color gradually.
5. Eyeshadow Brushes
Getting your eye makeup just right means having the right tools for different steps. While this may feel like the most overwhelming brush category, you only need a few essentials to create a wide range of looks.
- Flat Shader Brush: Perfect for packing pigments or shimmer onto your lids. These have dense bristles that hold and deliver eyeshadow without fallout.
- Blending Brush: With a fluffy, dome-shaped design, blending brushes soften harsh edges and help create seamless transitions between shades.
- Smudge Brush: Short and firm, this brush is used for adding depth to your lash line or smudging eyeliner for a smoky effect.
If you prefer simpler looks, start with just a shader and a blending brush, as these two can handle most of the work.
6. Liner and Brow Brushes
Precision is everything when it comes to eyeliner and eyebrows. A fine-tipped eyeliner brush helps you apply gel or liquid liner with smooth, precise strokes. Angled brushes are ideal for filling in your brows with powder or creating hair-like strokes using pomades.
Both of these brushes take some practice, so don’t worry if your first attempts aren’t perfect. With a little patience, you’ll gain the control needed to create sharp yet natural-looking lines.
7. Lip Brush
A lip brush might feel unnecessary if you’re used to applying lipstick straight from the tube, but it can make a big difference. These small, firm brushes are designed to help you outline and fill your lips with precision. They’re especially useful for bold or dark colors where even the tiniest mistake is noticeable.
Start by outlining your lips with short strokes, then fill in the rest for a smooth, even application.